Monday, October 29, 2012

Apllying Realistic Tattoo

So the first thing I did was go looking for a good stock image. I wanted a face with a lot of detail such as facial hair, expression, and most importantly, pores! I tend to get my stock images from the free site www.sxc.hu. Being impoverished and all I can’t afford to spend a buck on each picture. I ended up using this great image by Emiliano Spada.
Next thing we need is a tattoo design. You can create your own but I am not only poor, I am lazy as well. Head over to gomedia.us and get your hands on their Vector Sample Pack (from the Freebie Section).

Surreal Mannequin Photo Manipulation

Tutorial Assets

You’ll find the Photoshop PSD file in a directory labeled "source" that came in the ZIP file that you downloaded. You may wish to look through it briefly before we begin.
You’ll need the following stock images to complete this tutorial.

Saturday, October 27, 2012

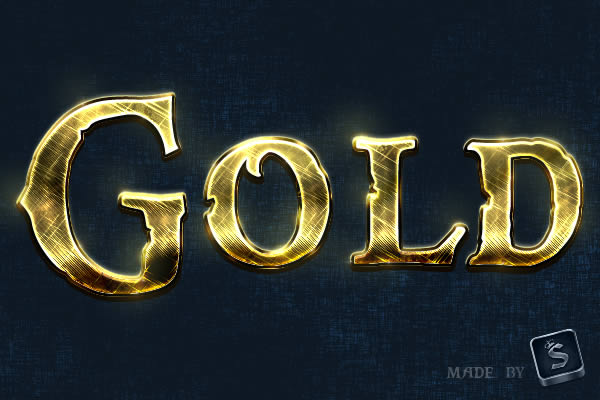
Gold Text Effect

Tutorial Assets

The following assets were used during the production of this tutorial.

Friday, October 26, 2012

Rocking Silhouette

Step 1

Start out by importing the image you want to cut the silhouette from into Photoshop. I used an image with a white background, which makes cutting very easy. Everyone has their own way of cutting something out, so I will not include that part in this tutorial. If you are unsure how to cut something out, look for a tutorial on that subject first.

Thursday, October 25, 2012

Ditsy Clouds Brushes

Download Now!
About The Writer
Hello! My name is Tommy. I'm a blogger, I love graphics design and now i went to Architechture Technical Senior High School. | Facebook |

Amazing Snowboard Poster

Step 1

Firstly we need to get our snowboarder so go here and copy the image then create a new document in Photoshop, it should automatically size to this image. Now paste the image in then move it down slightly so you have something like in the image shown below.

Download : Adobe Photoshop CS6 Portable

Download Now!


About The Writer
Hello! My name is Tommy. I'm a blogger, I love graphics design and now i went to Architechture Technical Senior High School. | Facebook |

Imaginary Paint Dancers

Create a document of size 595×842 pixels with black background. Create a new layer and name it as “Grey Spot”. Using a Brush tool, Soft Rounded 600px and color #333333, paint a huge grey dot at the center of the document.

Create A Striking Nature Scene

Wednesday, October 24, 2012

Undress A Giraffe

Tutorial Assets

The following assets were used during the production of this tutorial.

Autumn Potrait

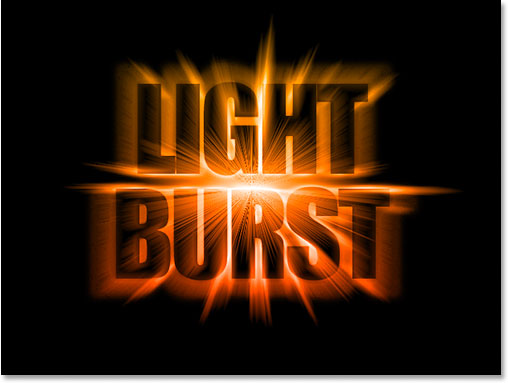
Light Burst Text Effect


Photoshop Text Effects: The final effect 

Step 1: Open A New Photoshop Document

Open a new document in Photoshop by going up to the File menu and choosing New…, or by using the keyboard shortcut, Ctrl+N (Win) / Command+N (Mac). You can choose your own width and height for your document, but if you want to follow along, I chose the

Chalkboard

Step 1:
As you can see above, that is the chalkboard design that I’ll be demonstrating how to create. You will be creating a chalkboard background, realistic board like on most chalkboards now-a-days, and some chalk text. First and for most, create a new document and size it at 400×300 pixels with a transparent background.

Tuesday, October 23, 2012

Amazing 3D Space Text Effect

Step 1

Open Adobe Illustrator and find the font that you want to use in your artwork, in this case I used Xirod Font and tweaked it a little. Make it outline and save it in Adobe Illustrator 8. (Cinema 4D just open vectors in this Adobe Illustrator version).

Downloads Brushes Vol. 1

Brushes

1. Abstract Line Brush

2. Particles And Stars 

3. Party Brushes 

4. Comet Brushes 

5. Dried Blood Splatter 

About The Writer
Hello! My name is Tommy. I'm a blogger, I love graphics design and now i went to Architechture Technical Senior High School. | Facebook |

Monday, October 22, 2012

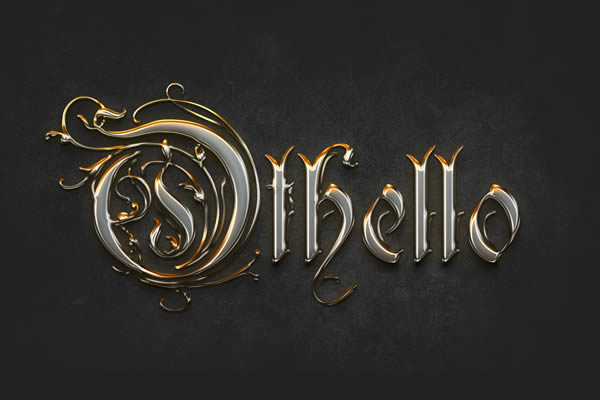
Create A Metallic Text Effect

Tutorial Assets

The following assets were used during the production of this tutorial.

Firefish

Materials Needed:

Editors Note: Non-English Pictures

Some images in this post show a non-english version of Photoshop. This should not affect your ability to complete this tutorial as all settings should look exactly the same.

Surreal Desert Scene in Photoshop

Milk Typography

Step 1

Open Adobe Illustrator and go to View>Show Grid. Then select the Rectangle Tool (M) and create 2 squares and 2 rectangels like the image below.

The creation of “A Life Of Aquatic Sounds”

Step 1
In this step we will cover the beginning of our manipulation, simple document creation and placement of the base stock image as well as the hue change.

How To Create Typography Wallpaper in Photoshop

Step 1

Create a new document at 1200 x 800 pixels with a resolution of 72dpi. Start off by importing all of your vector designs separately into a Photoshop canvas. In this case we divided our vectors into 3 separate smart objects and dragged them into the Photoshop canvas.