Step 1
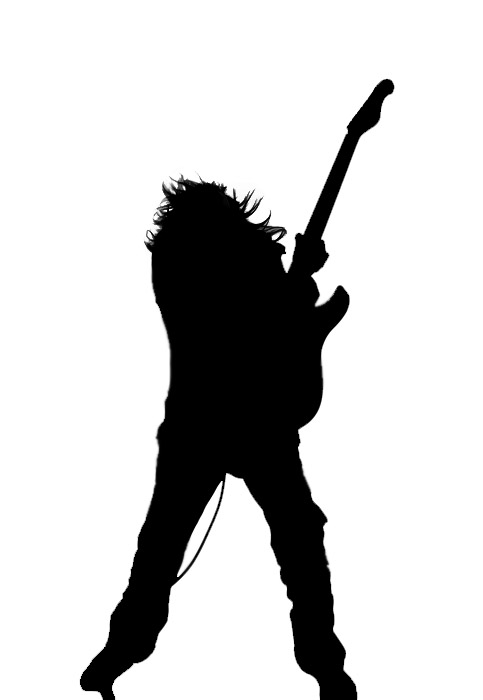
Start out by importing the image you want to cut the silhouette from into Photoshop. I used an image with a white background, which makes cutting very easy. Everyone has their own way of cutting something out, so I will not include that part in this tutorial. If you are unsure how to cut something out, look for a tutorial on that subject first.When you are ready and feel like you have a clean cut, go into the layer’s blending options, choose Color Overlay, and set the color to black. This should give you the silhouette of what you cut out. In my example, I did the hair separately and used a lower opacity on the Color Overlay so you can still see some gray tones.

Step 2
We can add a background by creating a radial gradient (Layer > New Fill Layer > Gradient). In the gradient options, change the style to Radial and choose dark colors on the outside and light colors for the inside.
Step 3
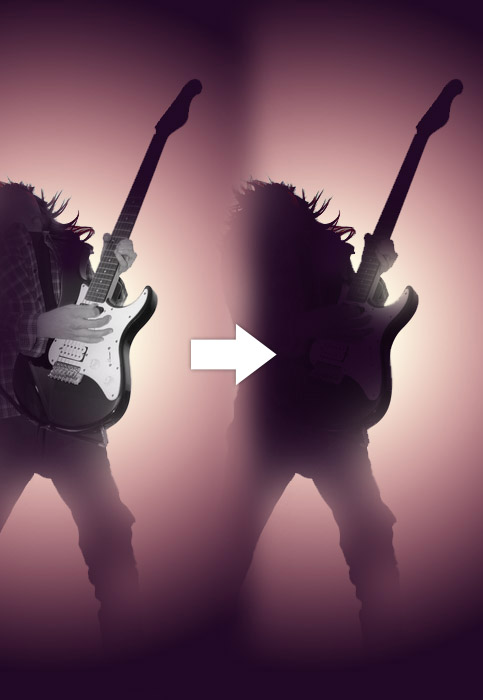
To get some light shining, we add a Layer Mask (Layer > Add Layer Mask > Reveal All, do this while having the silhouettes layer selected). Select a large, soft brush and set the foreground color to black. While having the layer mask selected (click on it in the layers pallet), brush at the sides of the silhouette so it becomes transparent. With a hard brush I got rid of the cable that runs to the guitar.
Step 4
At this point we can add a bit more color to the light. I made a Levels adjustment layer (Layer > New Adjustment Layer > Levels). When I hit the Auto button it came up with some colors I liked. If you dislike the automatic settings, you can try hitting the Options button and changing the shadows and highlights there, or try out other types of adjustment layers.
Step 5
Cut a little piece of the original guitar and put it over the silhouette to give it some depth. For a smooth transition, use a the eraser or a mask to soften the edges. Desaturate the layer (Image > Adjustments > Desaturate) and set the blending mode to Multiply with an opacity of 60-70%.
Step 6
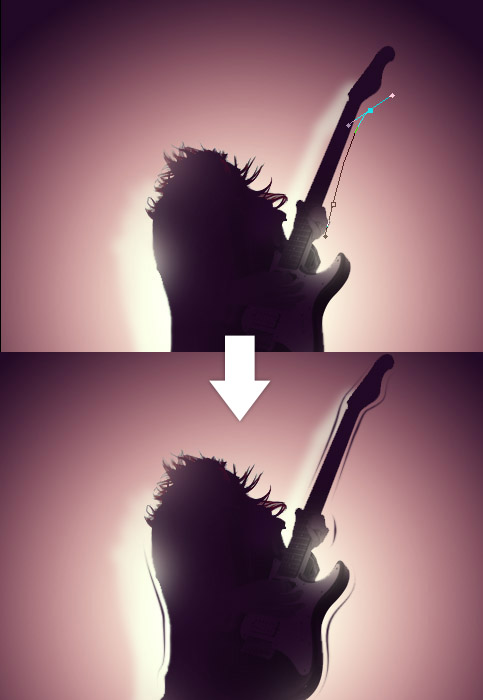
Copy the silhouette layer and change the Color Overlay in the Blendings Options to white. Give this layer a Gaussian Blur (Filter > Blur > Gaussian Blur) of 3-4px. Update the layers mask if needed (at some places too much white may shine through).
Step 7
If we want to insinuate some movement, we can make a few paths on a new layer. Before stroking, select a small hard brush and a darker color. Right-click the path and choose Stroke Path (while having the Pen Tool or Path Selection Tool active), in the options choose Brush and check Simulate Pressure.
Step 8
Create two more paths on a new layer, but stroke these with a large white soft brush. Add a Motion Blur (Filter > Blur > Motion Blur) to this layer.
Step 9
When adding text, we can use a piece of the background as on overlay so it fits in perfectly. Create a new layer above your text layer and use apply image (Image > Apply Image) on it. Make this layer a Clipping Mask (Layer > Create Clipping Mask) and move it around to find a good part of the background. If you don’t find a good position, try Apply Image again but this time with only the background layers shown. I also added two black boxes (with a low opacity) to create a subtle letterbox effect.


0 Comments:
Post a Comment