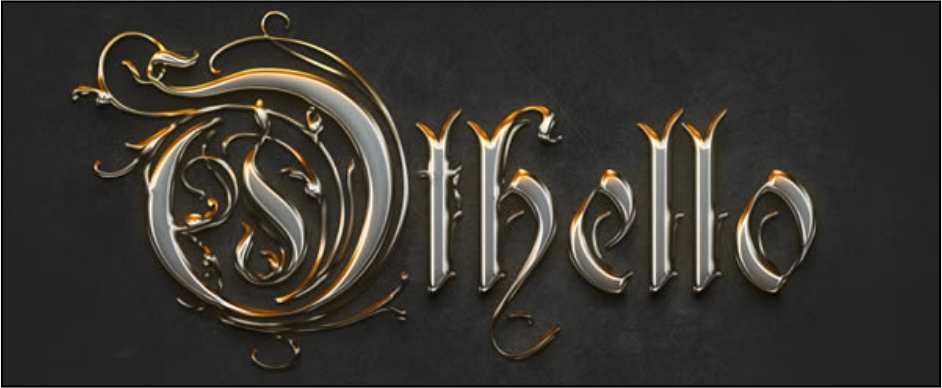
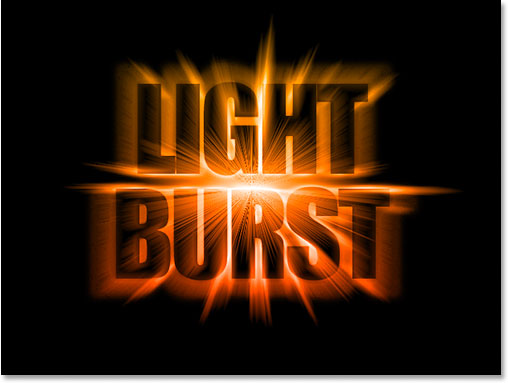
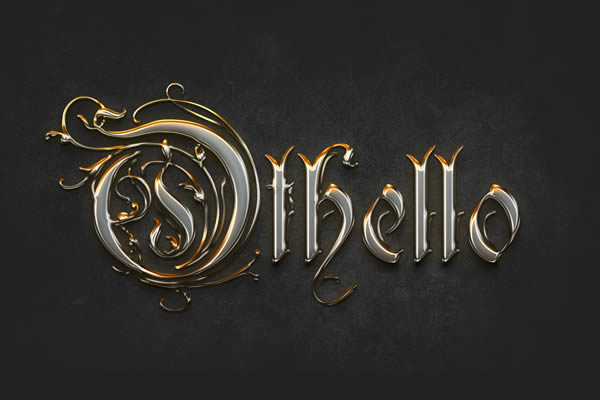
Amazing 3D Space Text Effect Gold Chromed Text Effect Meteorit Impact Manipulation Itaque earum rerum
Showing posts with label text effect. Show all posts

Monday, December 17, 2012

To complete this tutorial, you will need the following stocks:
Ground texture
Water pattern image
Water splash brush

Step 1

Create a new document sized 1280px * 800px with black background. Load the Ground Texture stock image into Photoshop, and select a piece of the ground as shown below

Sunday, December 16, 2012


Part 1: Creating The Main Text

  Taking a canvas size of 1900 X 1200. Of course you could pick any size according to your preference, but make sure the resolution is decent enough.
1
Fill the background layer BLACK.
2
With the Text Tool type whatever you want the text to be. I chose “Leave, but don’t leave me”, from a Pink Floyd song. “But don’t leave me” is coming later. Right now we’ll work on “Leave”. The font I have used is Futura Heavy.
3
  1. Right-click on the text layer, go to Blending Options to create Layer styles.
  2. On the Layer style box, go to Gradient Overlay, tick it.
  3. On the Gradient Overlay, we open the Gradient editor and make the New Custom Gradient as above. I have chosen shades of black, white and grey so that we can easily modify the colors later.

Tuesday, December 4, 2012


Part 1— The Background

So create a new document in Photoshop at 1920px wide x 1200px high, and with the Gradient Tool (G), draw in a radial gradient of browns (#5c3d09 to #1f1409) so you get something like what is shown below.
Notice that the gradient is not centered vertically but sits toward the top. In this image we want the top of the text to be on fire, so the top part of the image sh

Thursday, November 29, 2012

In this tutorial, we will create this effect using very basic Photoshop tools and layering effects. This tutorial is simple enough for a beginner to understand, but I should warn you that in this tutorial there ends up being over 60 active text layers, which will require a heavy use of your computer’s memory. Let’s jump into this tutorial and layer some glowing text.

Sunday, November 18, 2012

retro font flatten 489x700 Create Abstract Shining Text Effect with Groovy Font in Photoshop
To complete this tutorial, you will need the following stock:
Font

Step 1

Create a new document (sized doesn’t really matter here), fill the background layer with the gradients shown below:
1 fill 480x700 Create Abstract Shining Text Effect with Groovy Font in Photoshop
Create a new layer on top of the background layer, either paint or render some cloud on the center and bottom – this acts as the foundation of the text effect:
Hint: don’t paint or render too much cloud, a subtle effect will do.
1 cloud 480x700 Create Abstract Shining Text Effect with Groovy Font in Photoshop
You can use the perspective option via Ctrl + T (right-click) for the cloud on th

Thursday, November 8, 2012

In this quick tutorial we will show you how to create sports-themed text effect using layer styles in Photoshop. Let’s get started!


Tutorial Assets

The following assets were used during the production of this tutorial.
    In this tutorial we will show you how to make a neon text effect in Photoshop using layer styles and textures.
Let’s get started!

Saturday, October 27, 2012

Tutorial Assets

The following assets were used during the production of this tutorial.

Wednesday, October 24, 2012


Photoshop Text Effects: The final effect 

Step 1: Open A New Photoshop Document

Open a new document in Photoshop by going up to the File menu and choosing New…, or by using the keyboard shortcut, Ctrl+N (Win) / Command+N (Mac). You can choose your own width and height for your document, but if you want to follow along, I chose the
Step 1:
As you can see above, that is the chalkboard design that I’ll be demonstrating how to create. You will be creating a chalkboard background, realistic board like on most chalkboards now-a-days, and some chalk text. First and for most, create a new document and size it at 400×300 pixels with a transparent background.

Tuesday, October 23, 2012

Step 1

Open Adobe Illustrator and find the font that you want to use in your artwork, in this case I used Xirod Font and tweaked it a little. Make it outline and save it in Adobe Illustrator 8. (Cinema 4D just open vectors in this Adobe Illustrator version).

Monday, October 22, 2012

Tutorial Assets

The following assets were used during the production of this tutorial.

Step 1

Open Adobe Illustrator and go to View>Show Grid. Then select the Rectangle Tool (M) and create 2 squares and 2 rectangels like the image below.

Step 1

Create a new document at 1200 x 800 pixels with a resolution of 72dpi. Start off by importing all of your vector designs separately into a Photoshop canvas. In this case we divided our vectors into 3 separate smart objects and dragged them into the Photoshop canvas.