
Showing posts with label photo manipulation. Show all posts
Friday, December 14, 2012
Tutorial Resources
- Blanched Paper Textures from WeGraphics
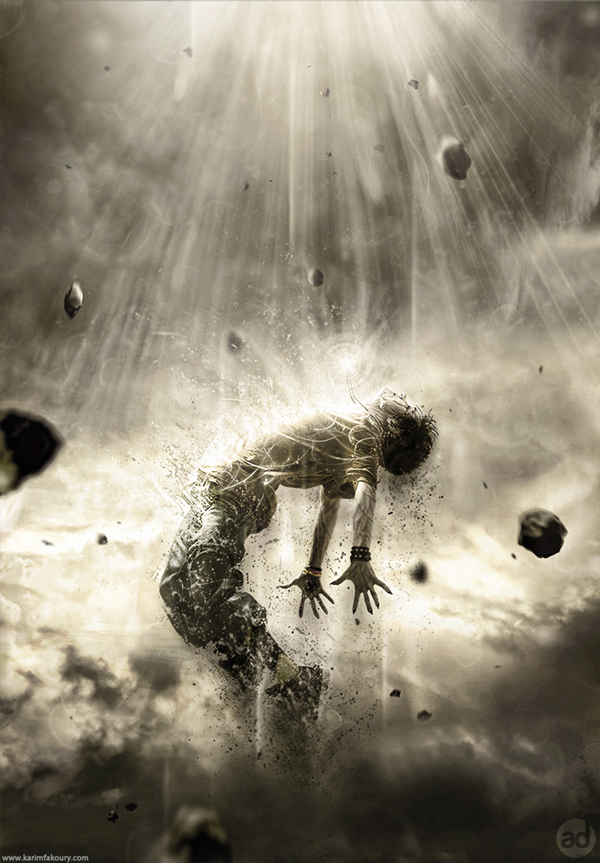
- Dancer from Shutterstock
- light_effects_custombrushes (ZIP, 26.1 MB)
Step 1: Set up the background
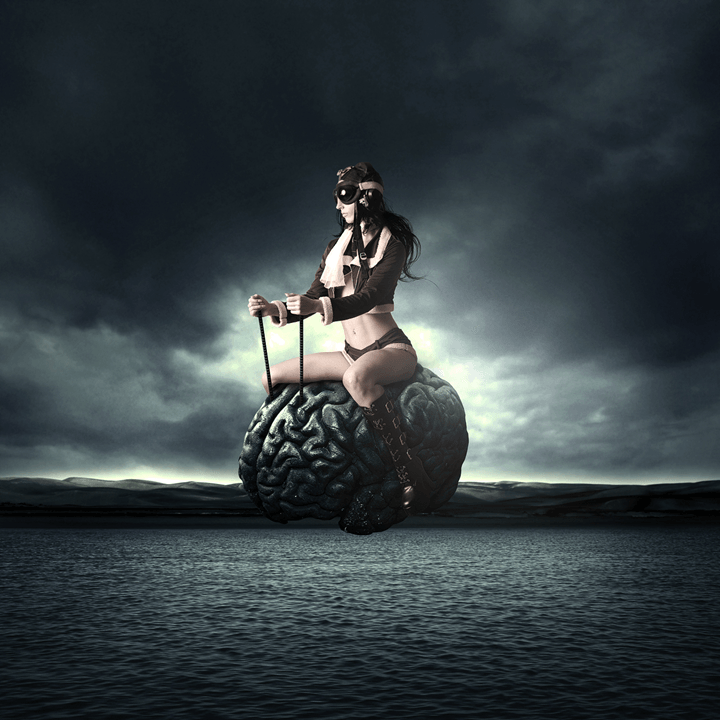
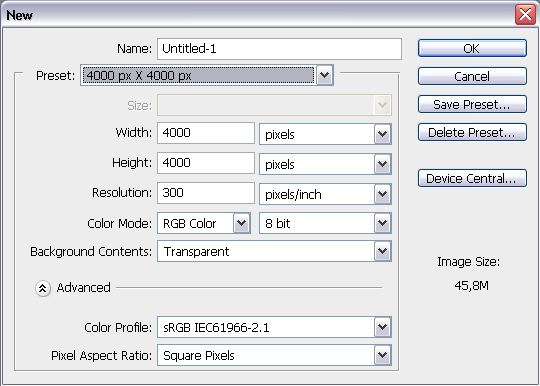
Let’s start the tutorial by creating a new document (Ctrl/Cmd + N) in Photoshop. Since I like printing my work, I will typically choose a large standard document size (like A4) and set the Resolution at 300 pixels/inchSunday, December 2, 2012
Tutorial Assets
The following assets were used during the production of this tutorial.Introduction
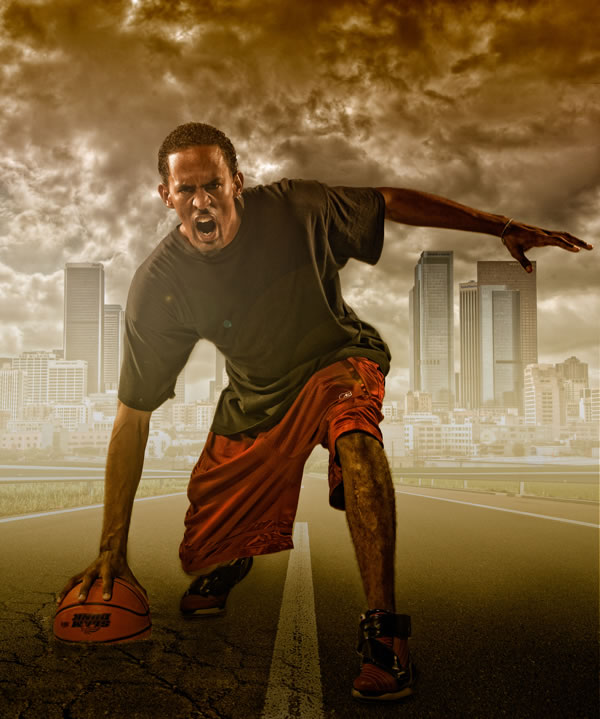
This is probably one of the hottest compositing trends today. A lot of photographers are now choosing to photograph athletes in a studio and then composite them into a background that’s more fitting to their sport, or simply more dramatic. Whether it’s for an advertisement (Nike and Under Armour do it all the time), or whether thSunday, November 25, 2012
Friday, November 23, 2012
Thursday, November 22, 2012
Wednesday, November 21, 2012
Tutorial Assets
The following assets were used during the production of this tutorial.Step 1
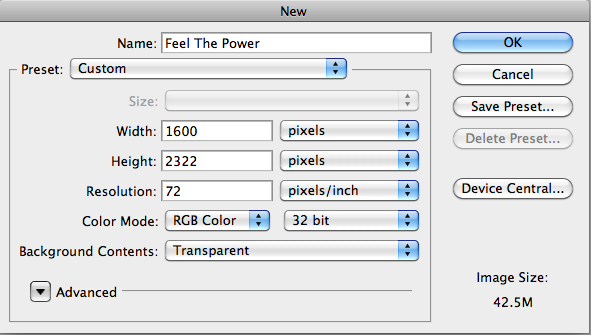
Let’s start by creating a new document in Adobe Photoshop. Choose the size of document you prefer, but try to keep it in a vertical shape, with a transparent background.
Step 2
Then, find a good stock image of a clouTuesday, November 20, 2012
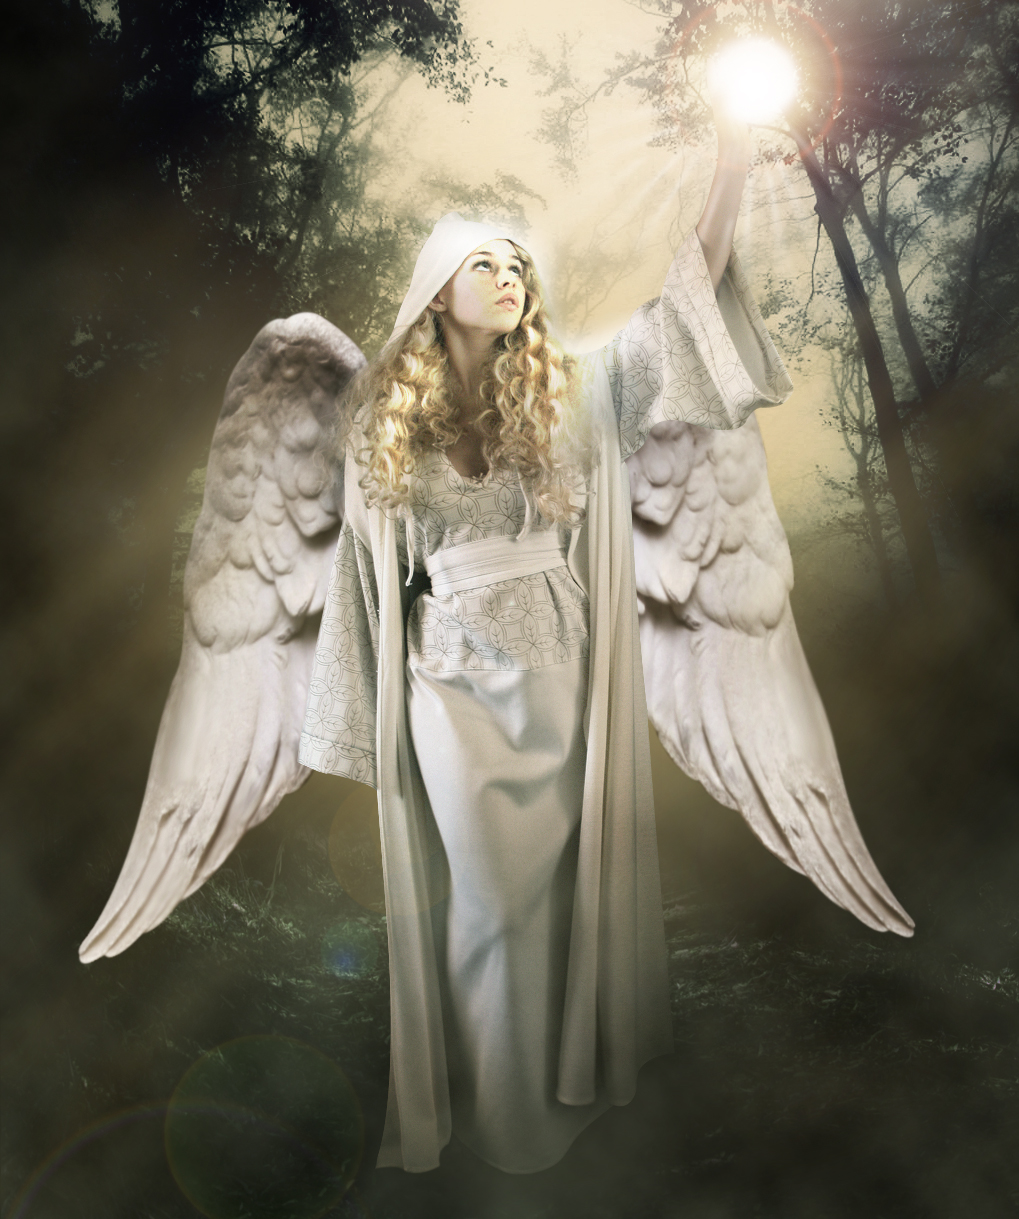
Materials Needed:
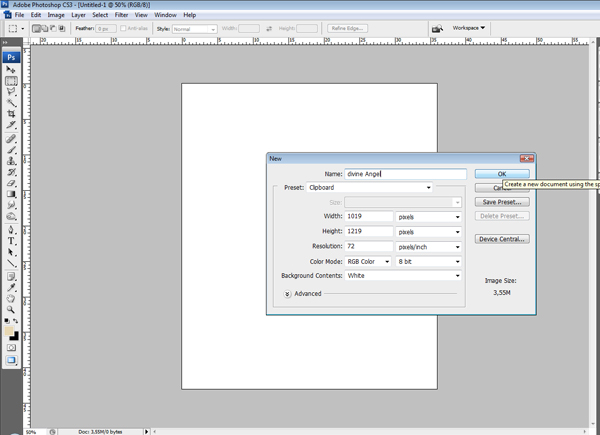
Step 1: Create a new document
First of all open a new document in Photoshop (Dimensions: 1019×1219 px).
Step 2: Apply Vegetation
Now import the first image “Vegetation1″ that we’ll use to create the background. Resize it and than place it to the top of the page.
Step 3: Reduce Saturation
Go to Image > Adjustments > Hue/SaturatioMonday, November 19, 2012

Tutorial Assets
The following assets were used during the production of this tutorial.- Model (courtesy of Marcus Ranum)
- Street (courtesy of Bizior Photography)
- Light
- Kid
- City
- City 2
- Streetlights
- Bolt
- Clouds
- Crack texture
- Texture 1
- Texture 2
- Scratch
- Font: Alegre
- Font: Steeltongs
- Font: Ethon
Step 1
First we will create the document. It’s importaSunday, November 18, 2012

- Stock used
- Squirrel: http://www.sxc.hu/photo/938803
- Soldier helmet: http://www.sxc.hu/photo/670295
- Weapon: http://www.sxc.hu/photo/946160
- Background: http://www.sxc.hu/photo/1229342
- Ammo: http://www.sxc.hu/photo/948158
Step 1
Open the background image in PhotoshopSaturday, November 17, 2012
Friday, November 16, 2012
Thursday, November 15, 2012
Wednesday, November 14, 2012
Tutorial Resources
- Grunge texture 1 – darkrose42-stock
- Grunge texture 2 – darkrose42-stock
- Model – Photoxpress
- Dried blood splatter brushes – Photoshop Tutorials
- Glossy blood splatter brushes – Photoshop Tutorials
- Cobweb brushes – Obsidian Dawn
- Cobweb texture – Fantasystock
- Wire – Morguefile
- Bandage – Titelgestalten
Step 1
Create a new document, choose the size with1333x1000 px and fill it with white ( or any sizes and any colors you likeMonday, November 12, 2012

Tutorial Resources
- Water Background – knightfall-stock
- Model– xstockx
- Skull – christasvengel-stock
- Texture – shadeybabey
- Webs – redheadstock
- Skull 2 – fantasystock
Step 1- Choose the Model.
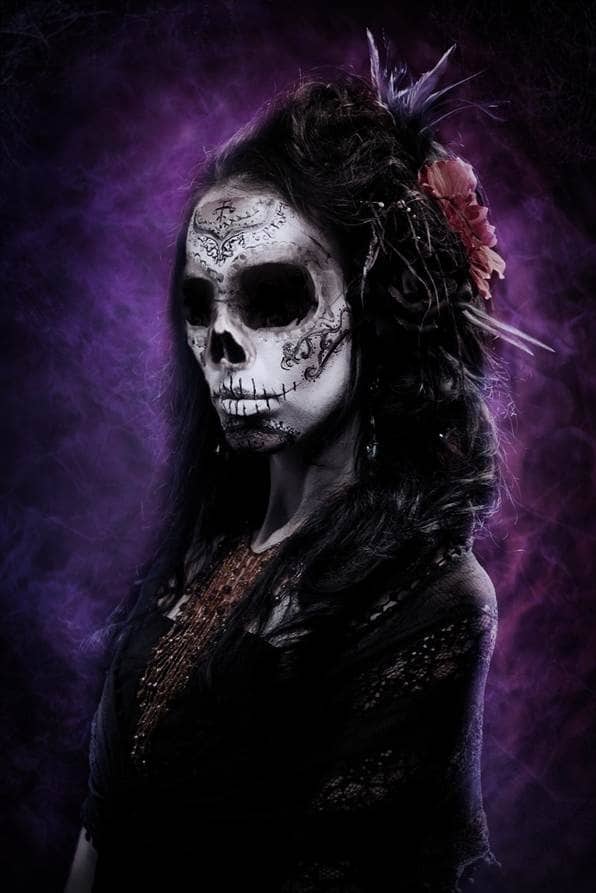
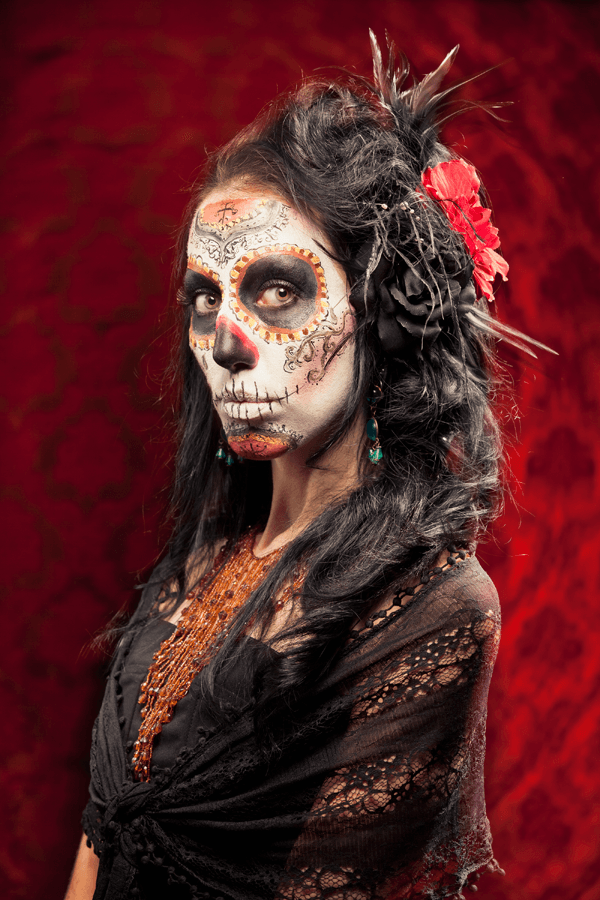
This Picture is great to create this type of manipulation, because the model’s make up help a lot.
Step 2 – Change the size.
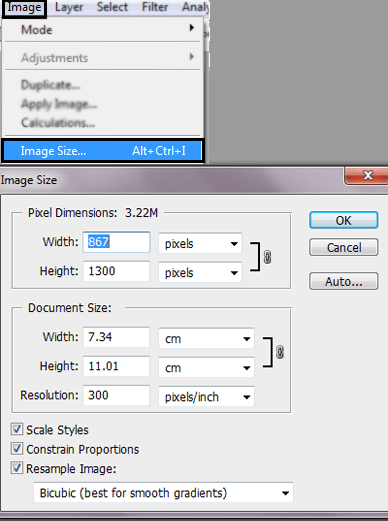
To do this go to Image -> Image size. Or Press (Alt+Ctrl +I). Resize the image to: Width:837 X Height: 1300 pixels and press ok.
Step 3- Select the Model.
Use the Lasso tool to Select the model.Materials needed
There are a lot of images used to make this artwork so I included all the necessary stock images on a single pack, In the zip file you will find all you need to follow this tutorial and also a text file with the credits to the authors of the stock images.Download stock images zip pack.
Authors of the stock images:Model – http://dxlogic.deviantart.com
Glass ball – http://chop-stock.deviantart.com
Head engine – http://foxstox.deviantart.com
Steel valve – http://quaddles.deviantart.com
Leaf veins – http://jonathan2478resource.deviantart.com
Green steam engine – http://otherunicorn-stock.deviantart.com
Chest mechanical piece – http://fantasystock.deviantart.com
Sunday, November 11, 2012
Resources needed
Background: http://www.sxc.hu/photo/813907Particles pack: http://mediamilitia.com/particles-pack-25-free-images
Explosion: http://joeycool10.deviantart.com/art/Kaboom-34546797
Step 1
The first thing you need to do is to open the Empire State stock image in photoshop and duplicate it. Name the bottom one ORIGINAL and the top layer TOP-LESS. Now you have to erase the top part of the building on the TOP-LESS layer but leave the sky visible.Saturday, November 10, 2012
In this new tutorial we’re going to learn how to extract an object from a
white background,create a paint effect using some brushes and create a
quick HDR effect in a few easy steps. So let’s start.Stock used
Model: http://dxlogic.deviantart.com/art/girl-stock-iii-206766488Background: http://knald.deviantart.com/art/Vintage-paper-TEXTURE-PACK-152400787
Smoke: http://www.sxc.hu/photo/1394829
Paint Spatter Brushes: http://www.starwalt.com/photoshop_stuff4.html
Floral Collage Brushes: http://www.starwalt.com/photoshop_stuff2.html
Step 1
First off we need to get some things for this tutorial, a picture of a Giraffe which can be found through sxc.hu, here is the link to the Giraffe. We also need some music note brushes, which I was able to find through a site called Obsidian Dawn.Now that we have these assets, we should get started in Photoshop. Create a new document 2000 pixels wide by 1000 pixels high. Set the background color to black.
Monday, October 29, 2012
So the first thing I did was go looking for a good stock image. I
wanted a face with a lot of detail such as facial hair, expression, and
most importantly, pores! I tend to get my stock images from the free
site www.sxc.hu. Being impoverished and all I can’t afford to spend a buck on each picture. I ended up using this great image by Emiliano Spada.
Next thing we need is a tattoo design. You can create your own but I am not only poor, I am lazy as well. Head over to gomedia.us and get your hands on their Vector Sample Pack (from the Freebie Section).
Subscribe to:
Posts (Atom)


Resources Used In This Tutorial


Tutorial Resources